Create a self-signed certificate
To create a self-signed SSL certificate for your website, follow these steps:
-
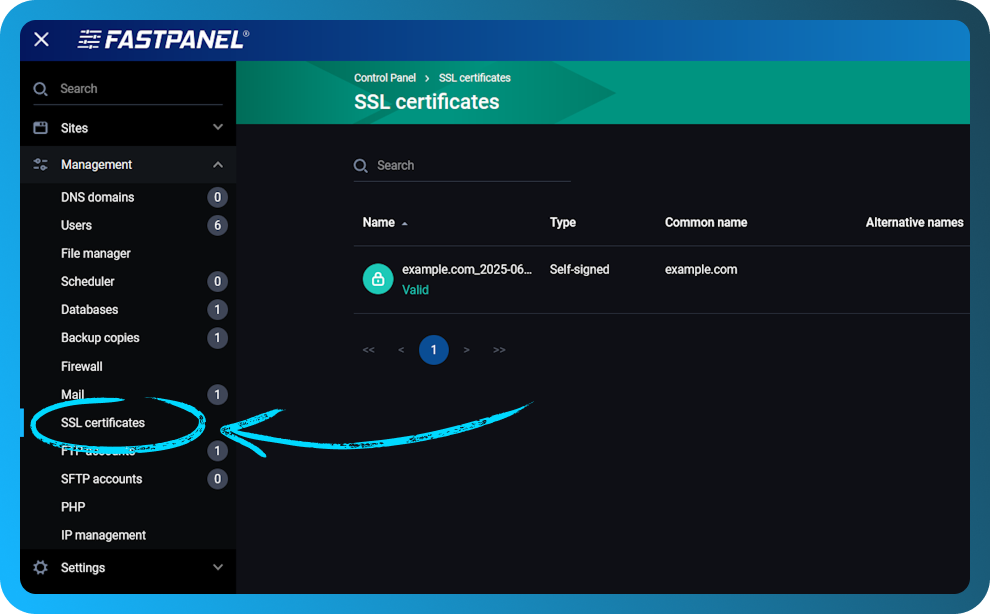
In the FASTPANEL® sidebar, go to the "SSL certificates" section.

-
In the "SSL certificates" section, click on the "New certificate" option to begin setting up a new certificate.

-
In the "New certificate" menu, select "Self-signed" from the list of available certificate types on the left side of the screen, and configure the following settings:
- Site - Choose the site from the dropdown list to which you want to apply the self-signed certificate.
- Email - Enter a contact email address, which will be associated with the certificate.
- Key length - Select the key length for the certificate. The recommended value is 2048.
- Common name - Enter the primary domain (e.g.,
example.com) for which the certificate will be created. - Aliases - Add any additional domains (aliases) that should also be secured by this certificate. Each alias should be on a separate line.
- Expires - Set the validity period of the certificate in days. 365 (1 year) is the default value.

Once all the fields are filled in, click "Save" to create the self-signed certificate. The certificate will then be applied to the selected site.